This section explains how to use widget "Database".
If the query returns large amounts of data, this can affect the performance of the mapp View HMI application!
Using widget "Selector"
To start a query, widget "Selector" must be used. That means that widget "DropDownBox", "Listbox", or "TextPicker" can be used. One or more "Selector" widgets can be used. The same queries are always displayed, however. There are two ways to configure the desired "Selector" widget.
If a query is started from the application using MpDatabaseQuery, the contents of the query are not displayed in widget "Database"!
1st possibility:
The desired "Selector" widget is added inside widget "Database". The queries are automatically displayed in the widget at runtime. In this example, widget "TextPicker" is added.
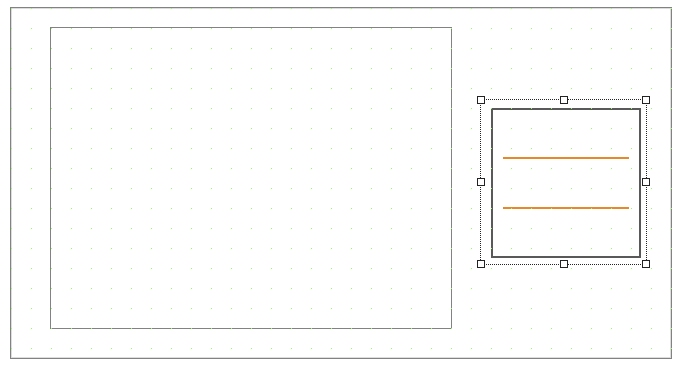
2nd possibility:
The desired "Selector" widget is added outside widget "Database".
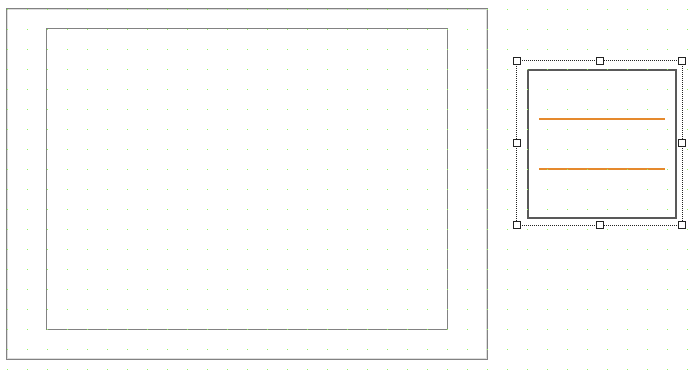
To establish a connection to widget "Database" to display the queries, the following event binding can be used, for example:
<EventBinding id="MainContent.Database1.QueryNames">
<Source contentRefId="MainContent" widgetRefId="Database1" xsi:type="widgets.brease.Database.Event" event="QueryNames" />
<EventHandler>
<Action>
<Target xsi:type="widgets.brease.TextPicker.Action" contentRefId="MainContent" widgetRefId="TextPicker1">
<Method xsi:type="widgets.brease.TextPicker.Action.SetDataProvider" provider="=dataprovider"/>
</Target>
</Action>
</EventHandler>
</EventBinding>
<EventBinding>
<Source contentRefId="MainContent" widgetRefId="TextPicker1" xsi:type="widgets.brease.TextPicker.Event" event="SelectedIndexChanged" />
<EventHandler>
<Action>
<Target xsi:type="widgets.brease.Database.Action" contentRefId="MainContent" widgetRefId="Database1" >
<Method xsi:type="widgets.brease.Database.Action.SetQuery" query="=selectedValue"/>
</Target>
</Action>
</EventHandler>
</EventBinding>
Executing queries
It is important to note that only SELECT queries can be executed. There are two ways to execute a query: using widget "Selector" or using an action.
Queries executed from mapp Database using MpDatabaseQuery are not displayed in the widget!
Executing queries using widget "Selector":
Widget "Selector" can be used to execute queries.
This example uses widget "TextPicker":
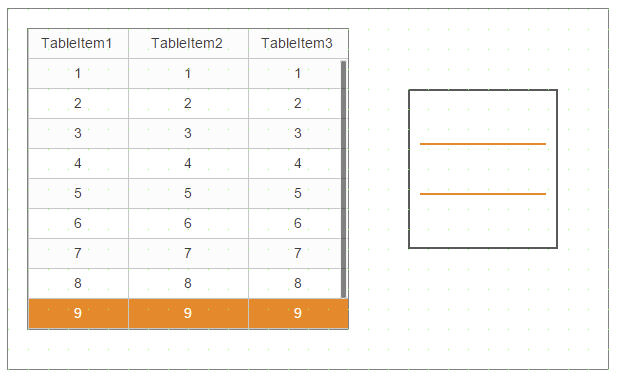
At runtime, widget "TextPicker" automatically displays all SELECT queries that were created in the MpDatabaseCore configuration:
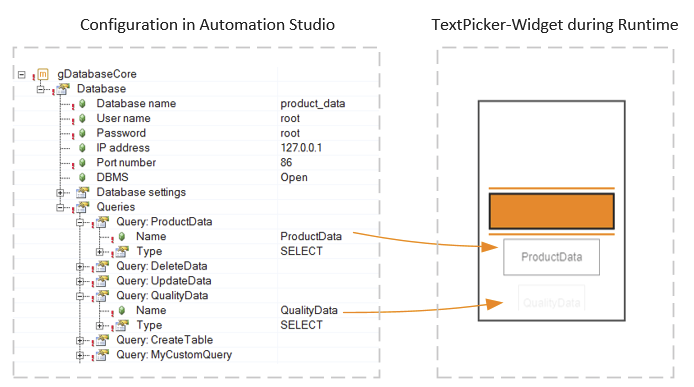
The queries are always displayed in widget "Selector" at the first index. This means that index 0 always remains empty. This guarantees that no query is executed at the beginning.
Executing queries using an action:
Action "SetQuery" can also be used in widget "Database" to execute a query.
No connection to the database system:
If there is no connection yet between mapp Database and a database system, nothing is displayed in widget "Selector" or in the widget that should contain the query information, e.g. widget "Table":
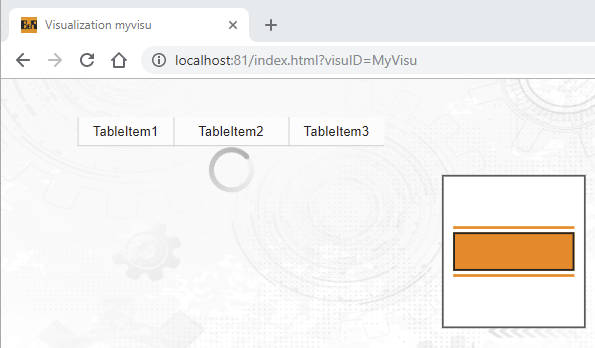
There are three ways to update a query:
•Using action "ReloadQuery"
•Use action "SetQuery" with the argument name of the query to be updated.
•Select the empty query from the selector widget and re-select the query to be updated.
(Note that for this functionality, the desired selector widget must be added outside the database widget.)
Loading the queries
If a query sends too much data to the database widget, the following must be noted:
If a query is selected, it is necessary to wait until it has been fully loaded. Only then is it possible to select another query.
If another query is already selected during the loading process, the selector widget that was placed inside the database widget will automatically switch back to the previous position.
If the selector widget has been positioned outside the database widget, an event binding must be created to ensure the functionality mentioned above. The following event binding can be used to return the selector widget to the previous position:
The return value of action "SetQuery" and getter "GetQuery" is used.
<EventBinding>
<Source xsi:type="widgets.brease.TextPicker.Event" contentRefId="DevTestContent" widgetRefId="textPicker_database1" event="SelectedIndexChanged" />
<EventHandler>
<Action>
<Target xsi:type="widgets.brease.Database.Action" contentRefId="DevTestContent" widgetRefId="database1" >
<Method xsi:type="widgets.brease.Database.Action.SetQuery" query="=selectedValue" />
</Target>
<Result>
<ResultHandler condition="NOT result">
<Action>
<ReadTarget xsi:type="widgets.brease.Database.ReadAction" contentRefId="DevTestContent" widgetRefId="database1" >
<Method xsi:type="widgets.brease.Database.Action.GetQuery"/>
</ReadTarget>
<Result>
<ResultHandler>
<Action>
<Target xsi:type="widgets.brease.TextPicker.Action" contentRefId="DevTestContent" widgetRefId="textPicker_database1" >
<Method xsi:type="widgets.brease.TextPicker.Action.SetSelectedValue" value="=result" />
</Target>
</Action>
</ResultHandler>
</Result>
</Action>
</ResultHandler>
</Result>
</Action>
</EventHandler>
</EventBinding>
Displaying the loading process
The loading process for the selected query can be displayed using a progress bar. Widget "ProgressBar" can be used for this purpose.
There are two ways to configure widget "ProgressBar".
•1st possibility
Widget "ProgressBar" is added inside widget "Database". The values are automatically displayed on the widget at runtime.
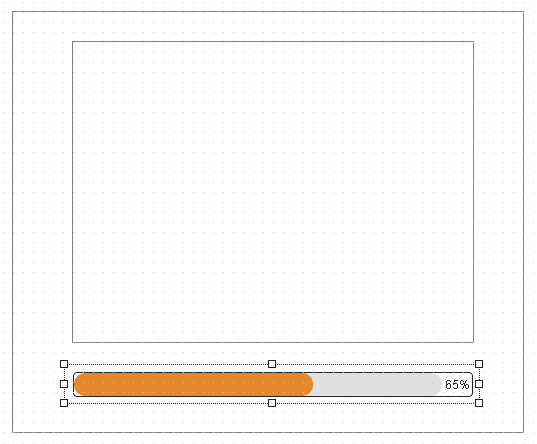
•2nd possibility
Widget "ProgressBar" is added outside widget "Database". An event binding must be created.
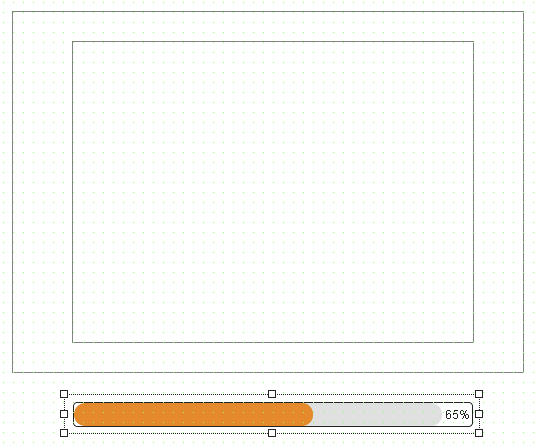
It is possible to use the following event binding, for example, to display the loading process:
•
<EventBinding>
<Source xsi:type="widgets.brease.Database.Event" contentRefId="DevTestContent" widgetRefId="database1" event="StartLoading" />
<EventHandler>
<Parallel>
<Action>
<Target xsi:type="widgets.brease.ProgressBar.Action" contentRefId="DevTestContent" widgetRefId="ProgressBar1" >
<Method xsi:type="widgets.brease.ProgressBar.Action.SetValue" value="0"/>
</Target>
</Action>
<Action>
<Target xsi:type="widgets.brease.ProgressBar.Action" contentRefId="DevTestContent" widgetRefId="ProgressBar1" >
<Method xsi:type="widgets.brease.ProgressBar.Action.SetVisible" value="true"/>
</Target>
</Action>
</Parallel>
</EventHandler>
</EventBinding>
<EventBinding>
<Source xsi:type="widgets.brease.Database.Event" contentRefId="DevTestContent" widgetRefId="database1" event="EndLoading" />
<EventHandler>
<Parallel>
<Action>
<Target xsi:type="widgets.brease.ProgressBar.Action" contentRefId="DevTestContent" widgetRefId="ProgressBar1" >
<Method xsi:type="widgets.brease.ProgressBar.Action.SetVisible" value="false"/>
</Target>
</Action>
</Parallel>
</EventHandler>
</EventBinding>
<EventBinding>
<Source xsi:type="widgets.brease.Database.Event" contentRefId="DevTestContent" widgetRefId="database1" event="ProgressLoading" />
<EventHandler>
<Parallel>
<Action>
<Target xsi:type="widgets.brease.ProgressBar.Action" contentRefId="DevTestContent" widgetRefId="ProgressBar1" >
<Method xsi:type="widgets.brease.ProgressBar.Action.SetMaxValue" value="=maxRows"/>
</Target>
</Action>
<Action>
<Target xsi:type="widgets.brease.ProgressBar.Action" contentRefId="DevTestContent" widgetRefId="ProgressBar1" >
<Method xsi:type="widgets.brease.ProgressBar.Action.SetValue" value="=currentRow"/>
</Target>
</Action>
</Parallel>
</EventHandler>
</EventBinding>
Displaying information in table or graph format
How information from the database can be displayed in widget "Database" is explained in section Displaying the information.
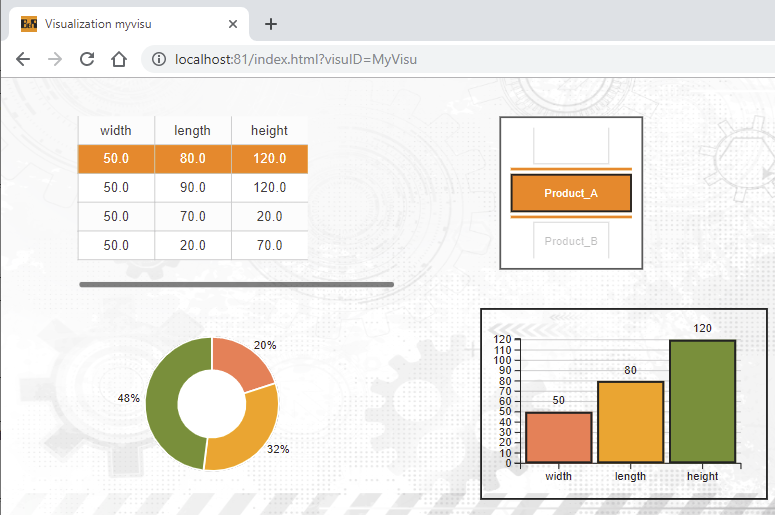
Several chart widgets can be configured in widget "Database". These always display the same data, however. The chart widgets change the information depending on which entry is selected in the table.
Using multiple "Database" widgets
One or more "Database" widgets can be connected to mapp Database.
It is important to note that each "Database" widget needs its own "Selector" widget.
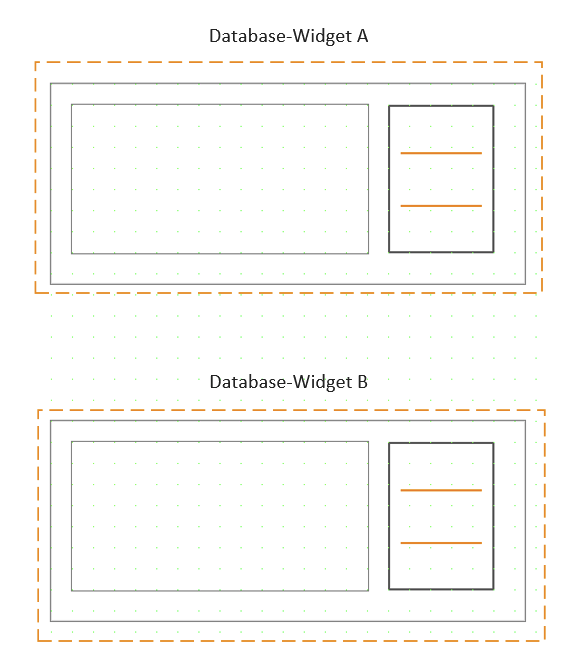
If a query is executed in "Database" widget A, the contents are also only displayed in A, not in B. The "Database" widgets work independently of each other.
