This section includes detailed explanations for the concept of widget "AlarmLine".
This differs from widget "AlarmList" in the sense that only an alarm is displayed and no header. This way, an important alarm can be displayed as an info banner to save space, for example.
With the default settings, the last incoming alarm is always displayed in the widget. This can be configured as desired with the configuration dialog box, as is done in widget "AlarmList"/"AlarmHistory". For more information, see chapter below: Filtering widget "AlarmLine".
Property sortOrder can be used to decide between descending (the last incoming alarm) or ascending (the first incoming alarm) order.
Actions ShowNext and ShowPrevious make it possible to click through all of the triggered alarm entries.
Configuring columns
The display and arrangement of the columns in widget "AlarmLine" is managed by adding widget "AlarmLineItem".
•Possible columns
•instanceID
•message
•name
•scope
•severity
•state
•timestamp
•additionalInformation1
•additionalInformation2
•code
•category
Adding columns:
Columns can be added in widget "AlarmLine" simply by dragging and dropping widget "AlarmLineItem". The respective column type (e.g. message) can be defined in widget "AlarmLineItem" using property "columnType". By default, widget "AlarmLine" is sorted in ascending order starting from the first column.
Changing the column width:
Clicking on the header of a column displays handles that can be pulled left or right to set the column width.
Configuring the filtering with the dialog box
Step 1:
Widget "AlarmLine" and the "AlarmLineItem" widgets are configured on the piece of content and put in a functioning state: Displaying alarms.
If the configuration dialog box is used for filtering, a text must be specified for property filterText of widget "AlarmLineItem". Otherwise, a list without texts is displayed in the configuration dialog box for the column type and it is not possible to distinguish between the different columns.
Step 2:
Widget "Button" is placed on the piece of content and configured according to the following use case such that the configuration dialog box for filtering is opened: Setting up a configuration dialog box.
Step 3:
The project is transferred. If the button is clicked at runtime, the configuration dialog box for filtering widget "AlarmLine" is opened.
Step 4:
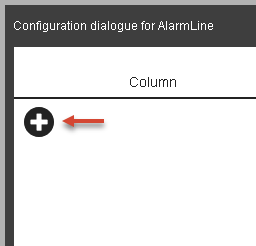
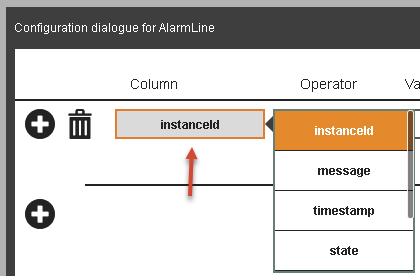
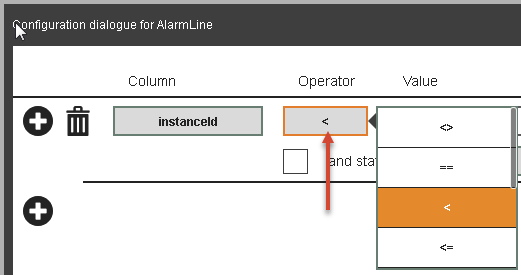
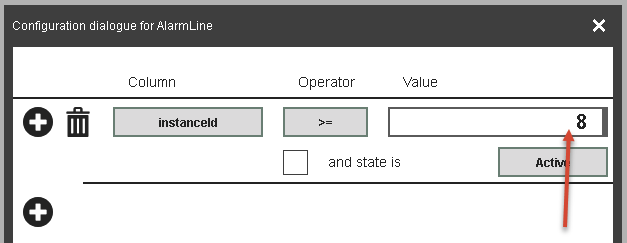
The desired filter criteria can be configured by clicking on the plus sign in the dialog box. The column type, operator and comparison value can then be selected.
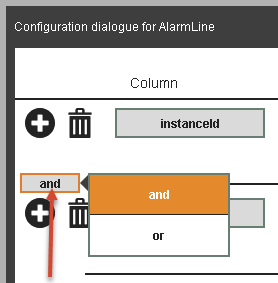
It is also possible to use a built-in AND operator or OR operator.
If the configuration dialog box is closed with OK, the configured filter is applied. The filter configuration is additionally stored in the variable bound to widget property "filterConfiguration".
