This section contains additional information about the concept of widget "XYJoystick".
Input
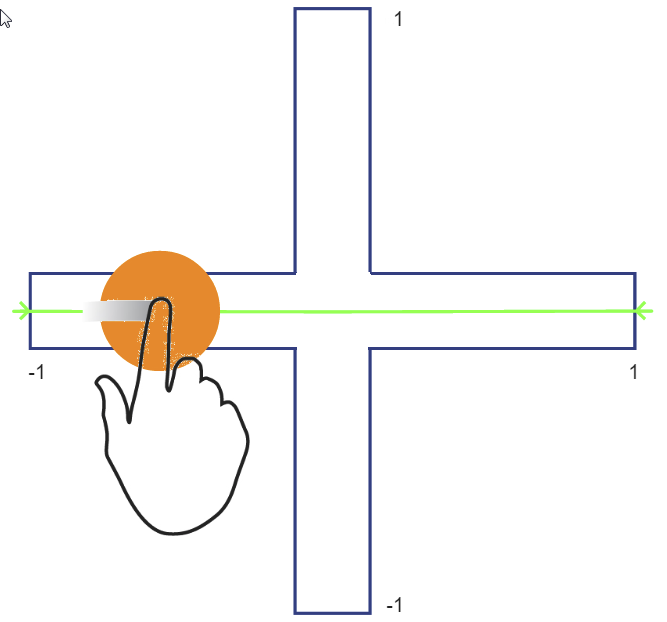
This widget can only be used for input. The user can only move the slider thumb in one direction, e.g. movement on the x-axis, but NOT on the y-axis. To enable movement on the y-axis, the user must slide their thumb back to the center or simply release it. In this case, the slider thumb automatically jumps back to the center.
Data binding
The widget has 2 properties (xValue, yValue) that can be bound to the process variables. These variables range from -1 to 1 and can be used in the application as a factor, for example to define the movement of an axis.
Example: Brightness control (sliding movement along the x-axis)
Step 1: Place the widgets.
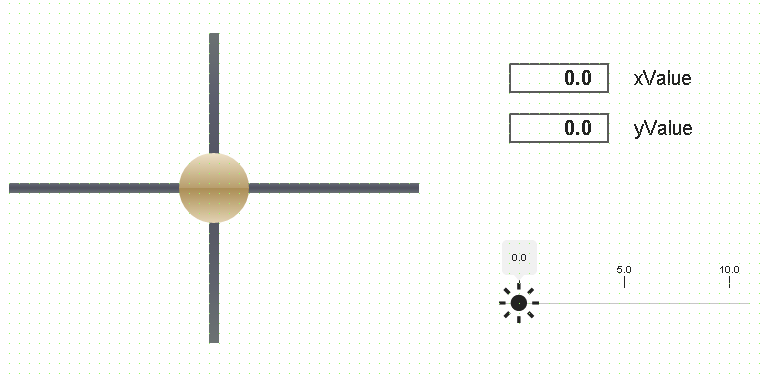
Place widgets "XYJoystick" and "BasicSlider" from the Widget Catalog on the piece of content, as shown below. NumericOutput widgets can be used to see how the value changes.
|
Step 2: Data binding
On XYJoystick, one numeric OPC UA variable is bound to xValue and one to yValue. Writing should only be done from widget "Page"; for this reason, "Init read/write" is used as the binding mode.
|
|
On widget "BasicSlider", a numeric OPC UA variable added in the application with xValue is bound to value. "Read only" is used as the binding mode.
Results:
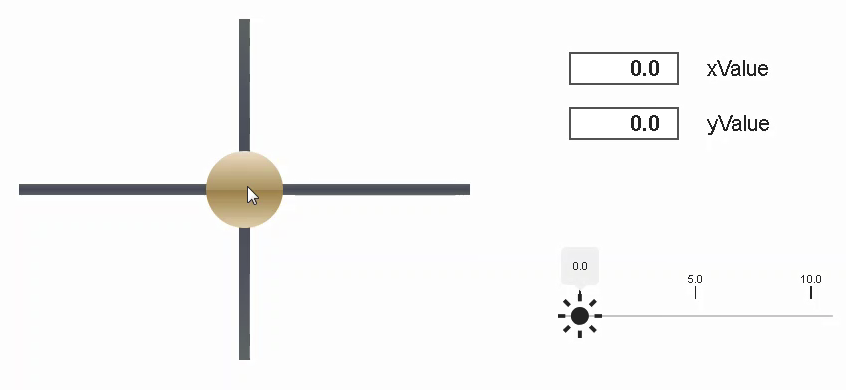
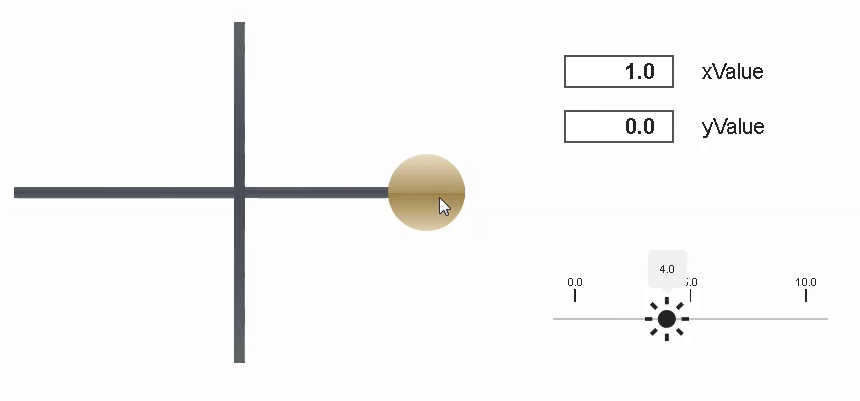
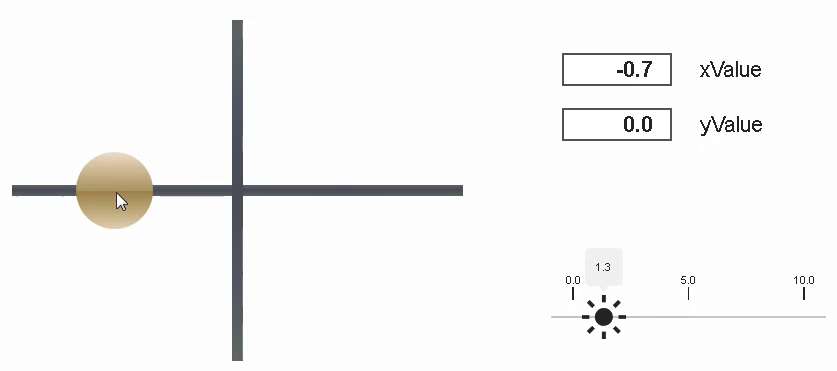
It can look like this when connected to the HMI application:
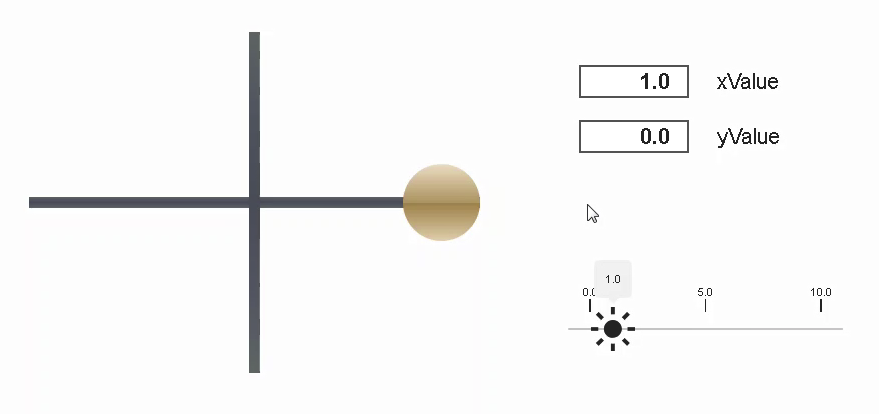
Moving the slider thumb to the right on the x-axis increases the value on widget "BasicSlider" by 1. |
If you continue to hold down the slider thumb without releasing it, value "valueBasicSlider" is always summed to 1 depending on the set cycle time. |
The same happens when you drag the slider thumb to the left, only with negative values. |
If you do not release the slider thumb, this setting will change every second:
